TOBB ETÜ CENTRAL PRINTER / PHOTOCOPIER SYSTEM USER MANUAL
The academic and administrative staff as well as the research assistants enrolled in a graduate program can use the central printer / photocopier system. The locations of the devices providing central printer / photocopier services at our university are listed below:
- Library
- Administrative Affairs Office
- Registrar’s Office
- Faculty of Fine Arts
- Faculty of Law
- Faculty of Engineering
- Computer / Electrical-Electronics Engineering Department Chair
- Faculty of Arts and Sciences / Mathematics Department Chair
- Economics / Business Administration
- Research Assistants Office at the Graduate School of Social Sciences
- Department of Foreign Languages
PRINTER DRIVER SETUP
For Windows Operating Systems
The users of Windows operating system should install the applicable version of the driver on their computers.
- Windows XP/Vista/7 32 Bit: 32-bit driver
- Windows XP/Vista/7 64 Bit: 64-bit driver
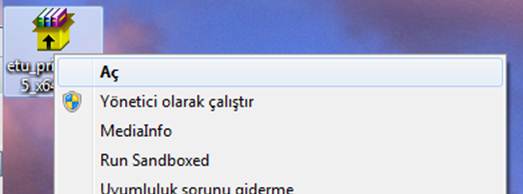
- Once the driver is downloaded, right click on the file and select the “Run as administrator” option.
- Figure 1. Driver installation
- Then proceed to the Control Panel / Devices and Printers, and confirm the installation of the printer named “etu_print”.
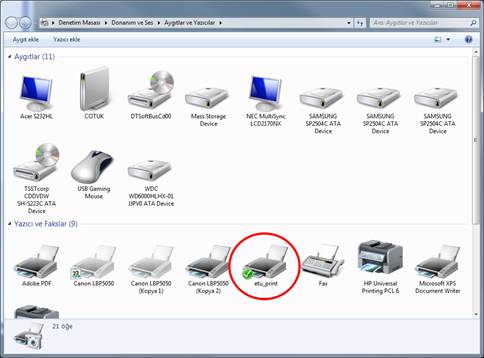
- Once the printer is installed;
-
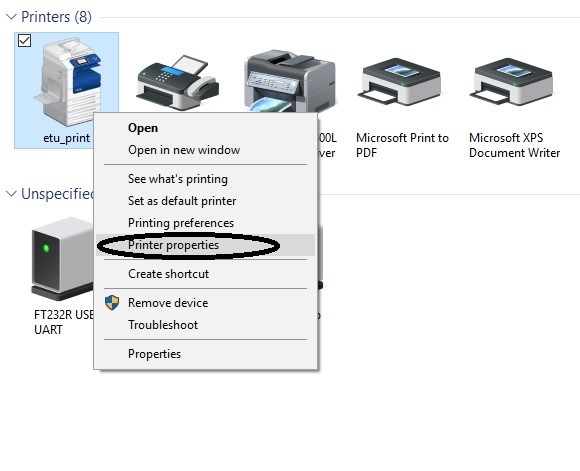
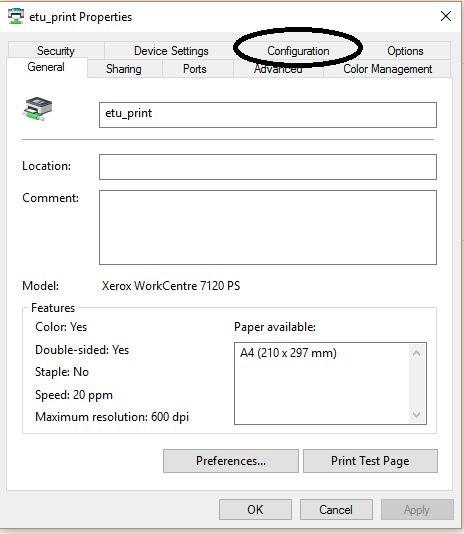
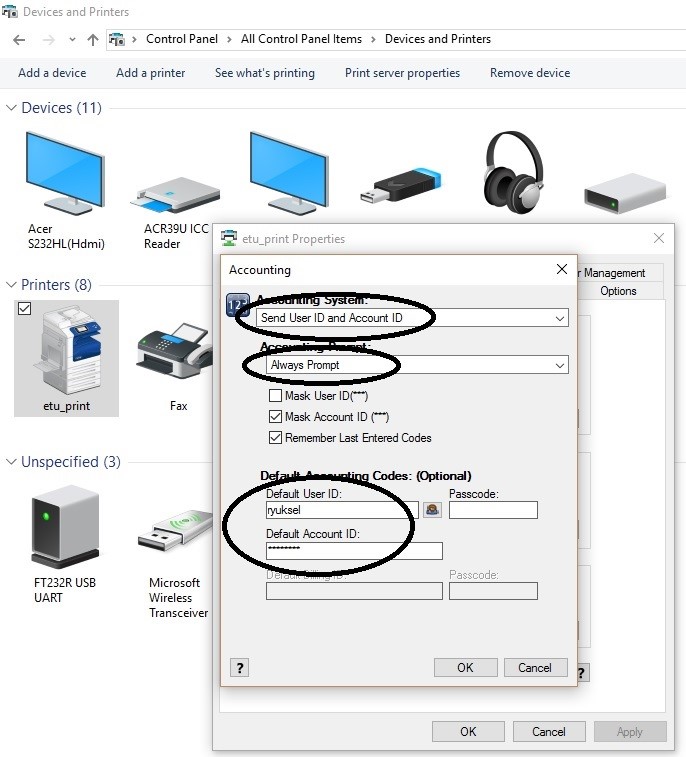
Proceed to the Control Panel / Devices and Printers. Right click on the etu_print symbol there, and choose “Printer Properties”.

-
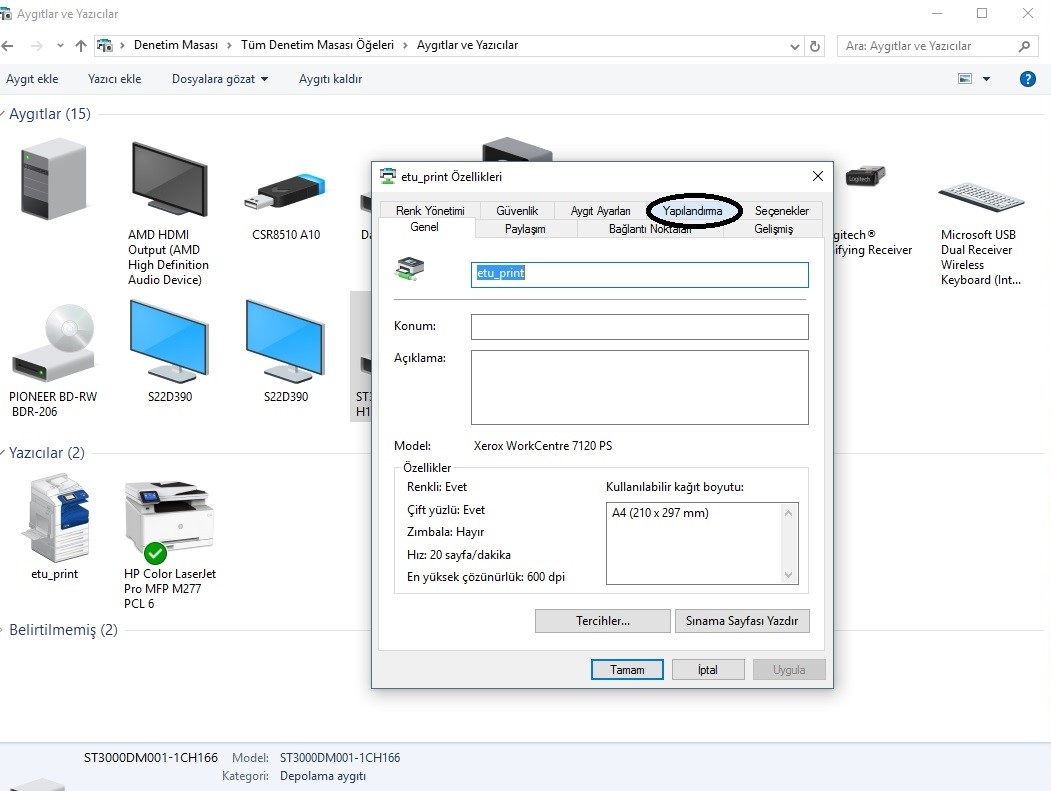
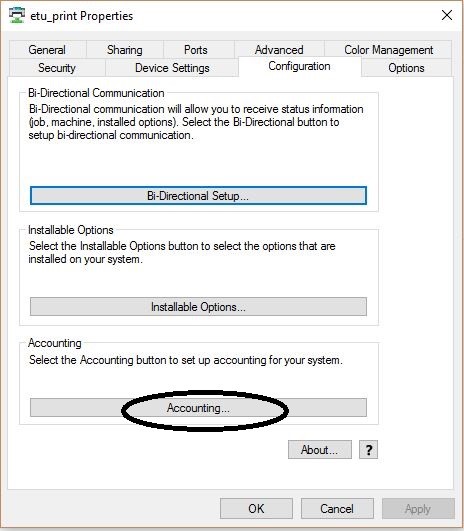
On the next screen, click on the Configuration tab.
-
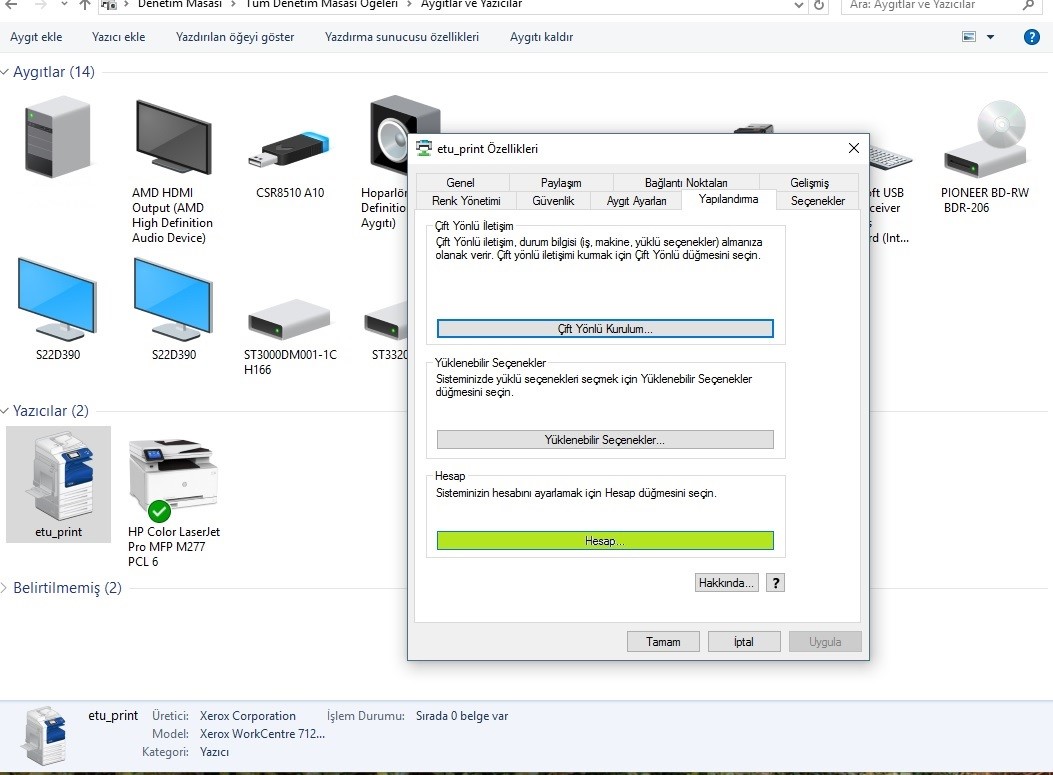
Click on the Accounting button on the bottom of the screen.
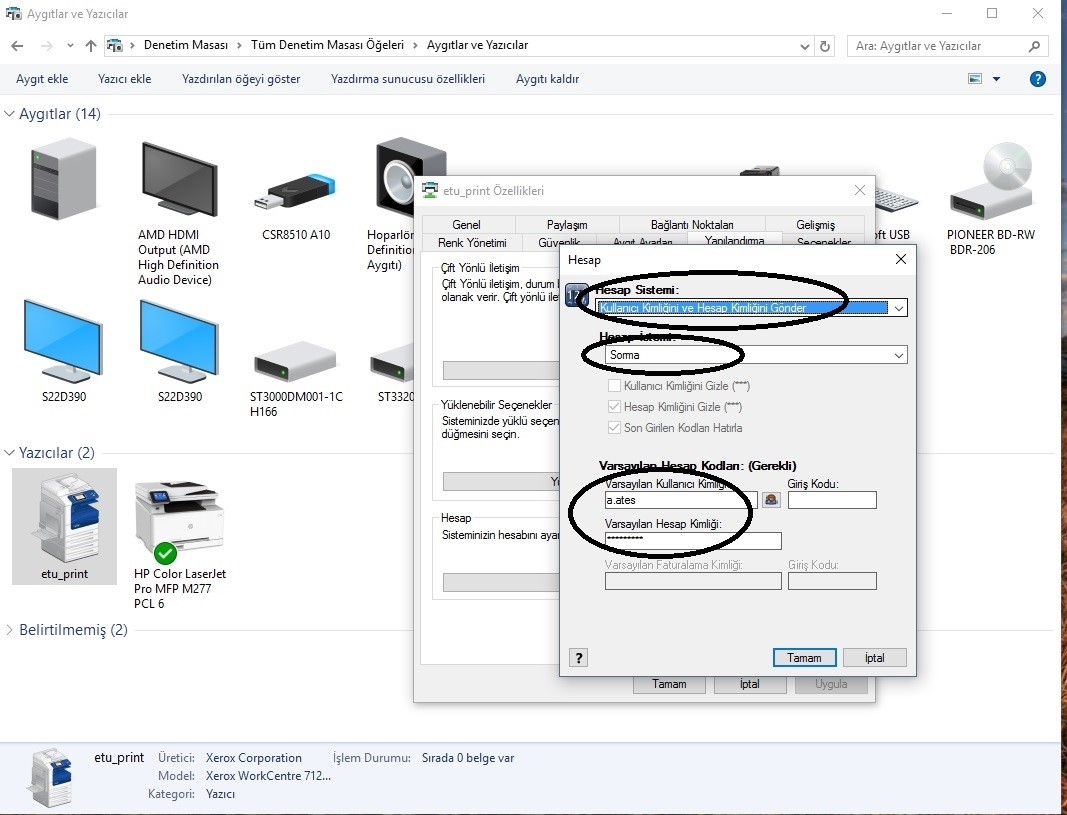
- There, choose the “Send User ID and Account ID” option. On the Accounting Prompt screen you can choose “Always Prompt” or “Do Not Prompt”.
-
The printer should be ready for use.
Card Registration: Before signing in for the printer, the first thing to do is get the personnel ID card (administrative, academic, graduate student) scanned, to register it with the system. On the next login, you will be able to proceed by just having the card scanned.
- Thereafter, you can get any photocopier in the university to print the document you want. Please check the 'Using Photocopiers' section for the details about getting a print-out.
For Linux / Unix / Mac Operating Systems and Mobile Devices
- The users of Linux, Unix, Mac operating systems and mobile devices need to print their documents over the web service. At the moment there are no dedicated drivers.
- Send the file to be printed to the address https://print.etu.edu.tr/web.php .
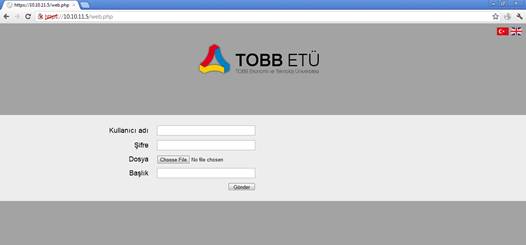
- On that page, enter your e-mail user name (without the @etu.edu.tr extension, as in the example of ‘bim’) and your e-mail password.
- Then, click on the “Choose file” button under the file section, and load the file to be printed. You can send the file to the printer, with a header if you need to.
- Thereafter, you can get any photocopier in the university to print the document you want. Please check the 'Using Photocopiers' section for the details about getting a print-out.
USING XEROX MACHINE
User Login:
Upon visiting the device you want to use, you will be presented with the following screen.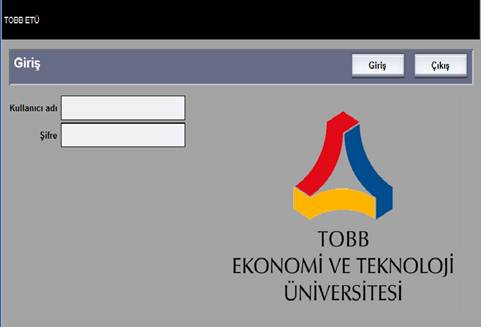
Figure 4. Login screen
Main menu:
Upon logging in using your e-mail user name and password there, you will be taken to the following screen: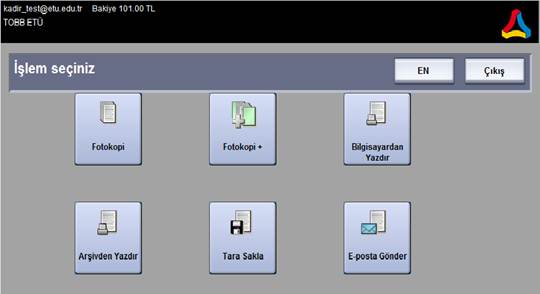
Figure 5. List of actions
Actions:
- Photocopy: Quick photocopy producing a single copy using standard settings.
- Photocopy +: Photocopying with custom settings (multiple copies, double-sided copy etc.)
- Print from Computer: The option to print the documents you have sent from your computer.
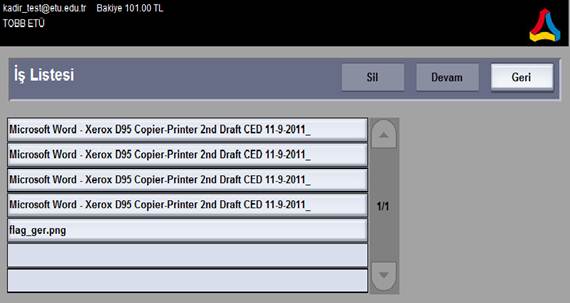
Figure 6. List of actions
Upon choosing the relevant action by pressing on the option, you can proceed by pressing the continue button. You can change the settings shown on the screen, and set as you require during the printing process.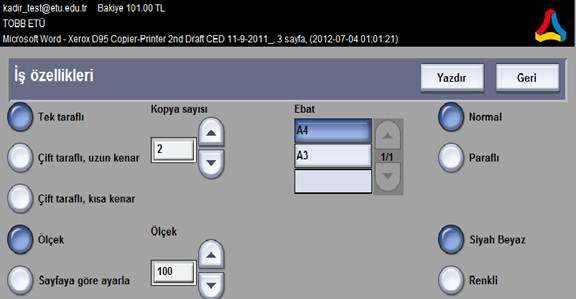
Figure 7. Print properties - Print from Archive: Using the “Scan and Save” section to print the documents you have scanned.Select the document and print it using the Continue button.
- Figure 8. List of archived documents
- Scan and Save: The process of scanning and saving the documents you have with you. Place your documents in the machine and press the scan button.
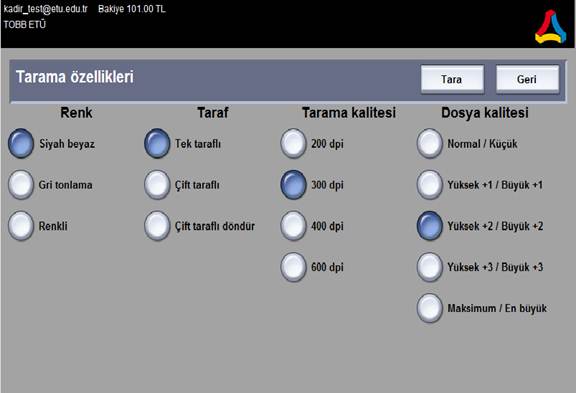
- Figure 9. Scanning Properties
- Sending e-mail: The process of scanning e-mailing the document placed in the machine.Place your documents in the machine and press the scan button.

- On the screen, write the e-mail address of the recipient and press the send button.
- Figure 10. Scanning properties
Logout:
Don’t forget to “Logout” once you completed the operation.